Mesh VPN using Zero Trust

Cloudflare’s Zero Trust (previously known as Argo Tunnel) enables companies and individuals to connect their sites to each other using Cloudflare’s secure network. It’s free for the first 50 users (which means even small-sized companies can use it for free).
In this scenario, we are going to connect two different sites that are behind NAT/Firewall with no Static IP Address to each other. It’s completely easy.
First, we need to establish a secure tunnel to Cloudflare from our sites, which means we need a machine to run the Cloudflare agent. I’ve used a Raspberry Pi as the tunnel agent, but the agent can be installed on any kind of machine with x86/arm CPU. To install the agent, we need to add the Cloudflare repo to the apt source list.
curl -L https://pkg.cloudflare.com/cloudflare-main.gpg | sudo tee /usr/share/keyrings/cloudflare-archive-keyring.gpg >/dev/null
echo "deb [signed-by=/usr/share/keyrings/cloudflare-archive-keyring.gpg] https://pkg.cloudflare.com/cloudflared $(lsb_release -cs) main" | sudo tee  /etc/apt/sources.list.d/cloudflared.list
sudo apt update
sudo apt install cloudflared
Now, we need to create a tunnel in cloudflare, that can be created via Networks > Tunnels.
After creating the tunnel, you have to install the cloudflared service using following command:
sudo cloudflared service install <TOKEN>if you completed the steps correctly you have to see your connectors as healthy.

after creating both tunnels for both sites now we have to configure the routes.
we have two subnets:
- 192.168.1.0/24 — Home
- 192.168.2.0/24 — Work
so, we need to all traffics those points to 192.168.1.0/24 via Home and all traffics those points to 192.168.2.0/24 via Work just like this:

after creating both routes now it’s time to configure the device enrollment policies and routing exclusions.
Device Enrollment And Routing Settings
to enroll devices, we need to define an enrollment policy which can be defined under Settings > Warp Client > Device enrollment.
I’ve created a policy that forces all users to have a @mydomain.com email address:

but still there is a problem, in Zero Trust’s default routing exclusion policy, 192.168.0.0/16 is excluded so all routes to this subnet being bypassed but there is a way, we have to delete those exclusions from the exclusion list via: Settings > Warp Client > Device Settings > Profile Settings > Split Tunnels
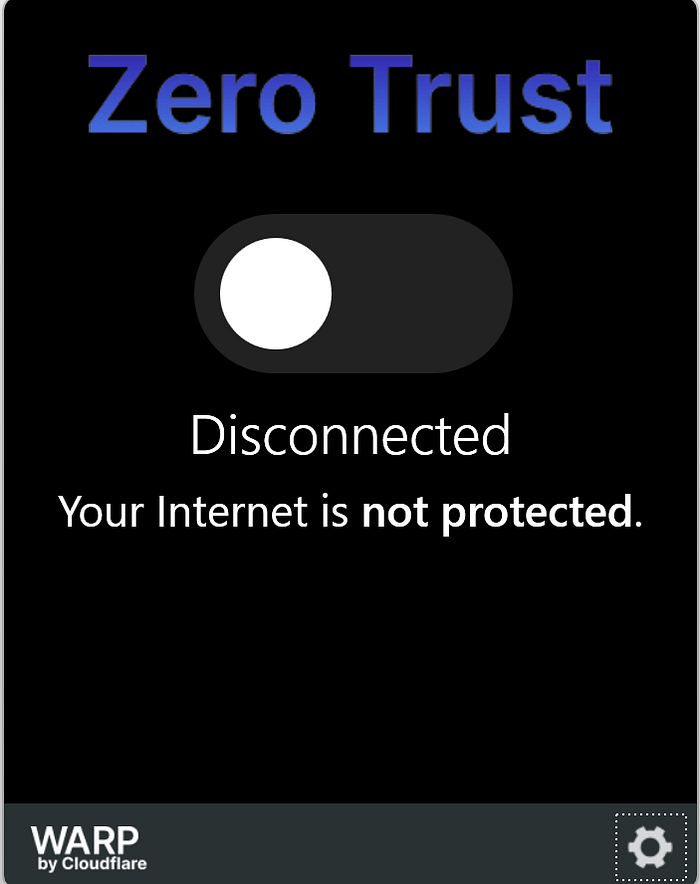
Now, we have the enrollment policy, route exclusion, and we are ready to go. all we need now is to install Warp Client and Sign in to our Cloudflare’s team domain. which can be done via Warp Client > Preferences > Account > Login With Cloudflare Zero Trust
after that your Warp Client theme should be changed to Zero Trust
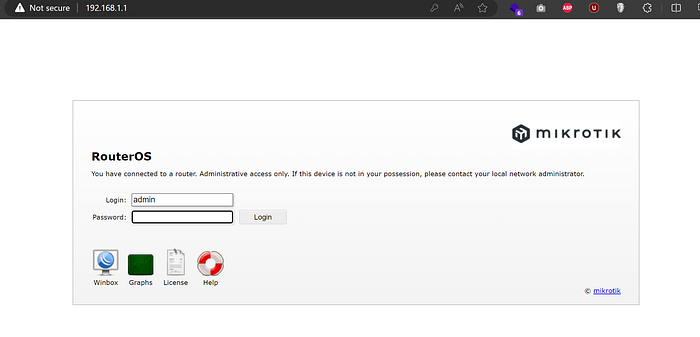
after connecting to our Team’s Zero Trust, if we open our Home’s router page via 192.168.1.1we can verify that the routing is working:
if the routing was not working we have to enable Proxy (and Warp to Warp if you want to establish warp gateway on your Mikrotik Device) via Cloudflare Zero Trust > Settings > Network > Firewall > Proxy
Now Using Cloudflare we can access to both networks and even route whole traffic via one of our tunnels using 0.0.0.0/0 CIDR.
we can even expose our services behind the NAT to the Internet for free and of course with free SSL thanks to Cloudflare.
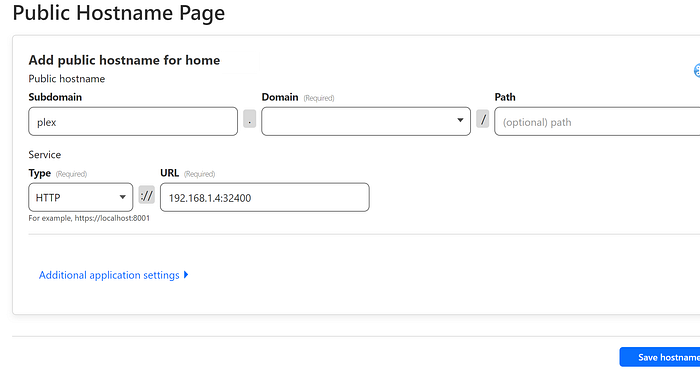
to expose our internal services, we need to create a Public Hostname under our related tunnel.
Now we can access our private network’s hosted service via our subdomain, easy, right? But is that even secure? It’s publicly available to everyone. Let’s make it more secure.
All we need to do is create an application under Zero Trust Access. First, let’s make an Access Group with your desired criteria, similar to a device enrollment policy. Then, create an application and select Self Hostedas the Application Type. Enter the application name and the related subdomain/domain.
If you create the application with *.domain.tld, you can reuse that application later when you create a public hostname for your domain and protect your L7 hostname using the same application.
If you create a hostname with SSH/VNC type, you can enable browser rendering for your hostname while creating its related application.